Robotic buggie
The Robotic Buggie was the final project for my Computer-aided Manufacturing 2000 & Rapid Prototyping course. The group project was designed to show our ability to perform various machining operations, locate parts in a fixture, and machine multiple surfaces.
Problem
Design and manufacture a robotic buggie using 4 manufacturing processes laser cutting, 3D printing, milling and lathing.
The Buggies will be considered based on the Coolness: the most interesting looking buggy. The product should look like a toy that people want to play with. Fit and finish: is the final product well designed and completed. The fit and finish will be evaluated based on the use of post processing, no tape or glue should be used. Number of new machined parts: does the buggie use multiple manufacturing processes such as laser cutting, 3D printing, milling and lathing.
Process
SolidWorks Development, Full assembly & Exploded View
SolidWorks Development


SolidWorks Exploded View

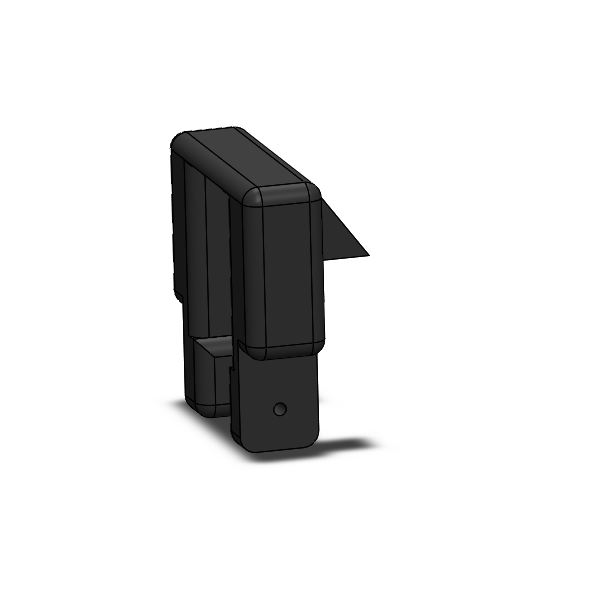
3d pRINTING Parts
I designed and 3D printed the Dual connector and Front wheel extension. The dual connector was used to mount the motor and connect the middle of the chassis. The front wheel extension was used to attached the front wheel to the chassis using a press fit. The parts were 3D printed using two technologies Stratasys Fortus 450mc (Black ABS Filament) & Makerbot Replicator (White PLA Filament).


Machining Parts
I completed the GCode & Milling for the wheels of the Buggie. Some of the errors that occurred during this process included the resin getting stuck inside the mold. This was resolved by redoing the mold with 45 degree draft angles.
3 Axis Milling Wheel Mold
Resin stuck in Mold


Assembling Buggie


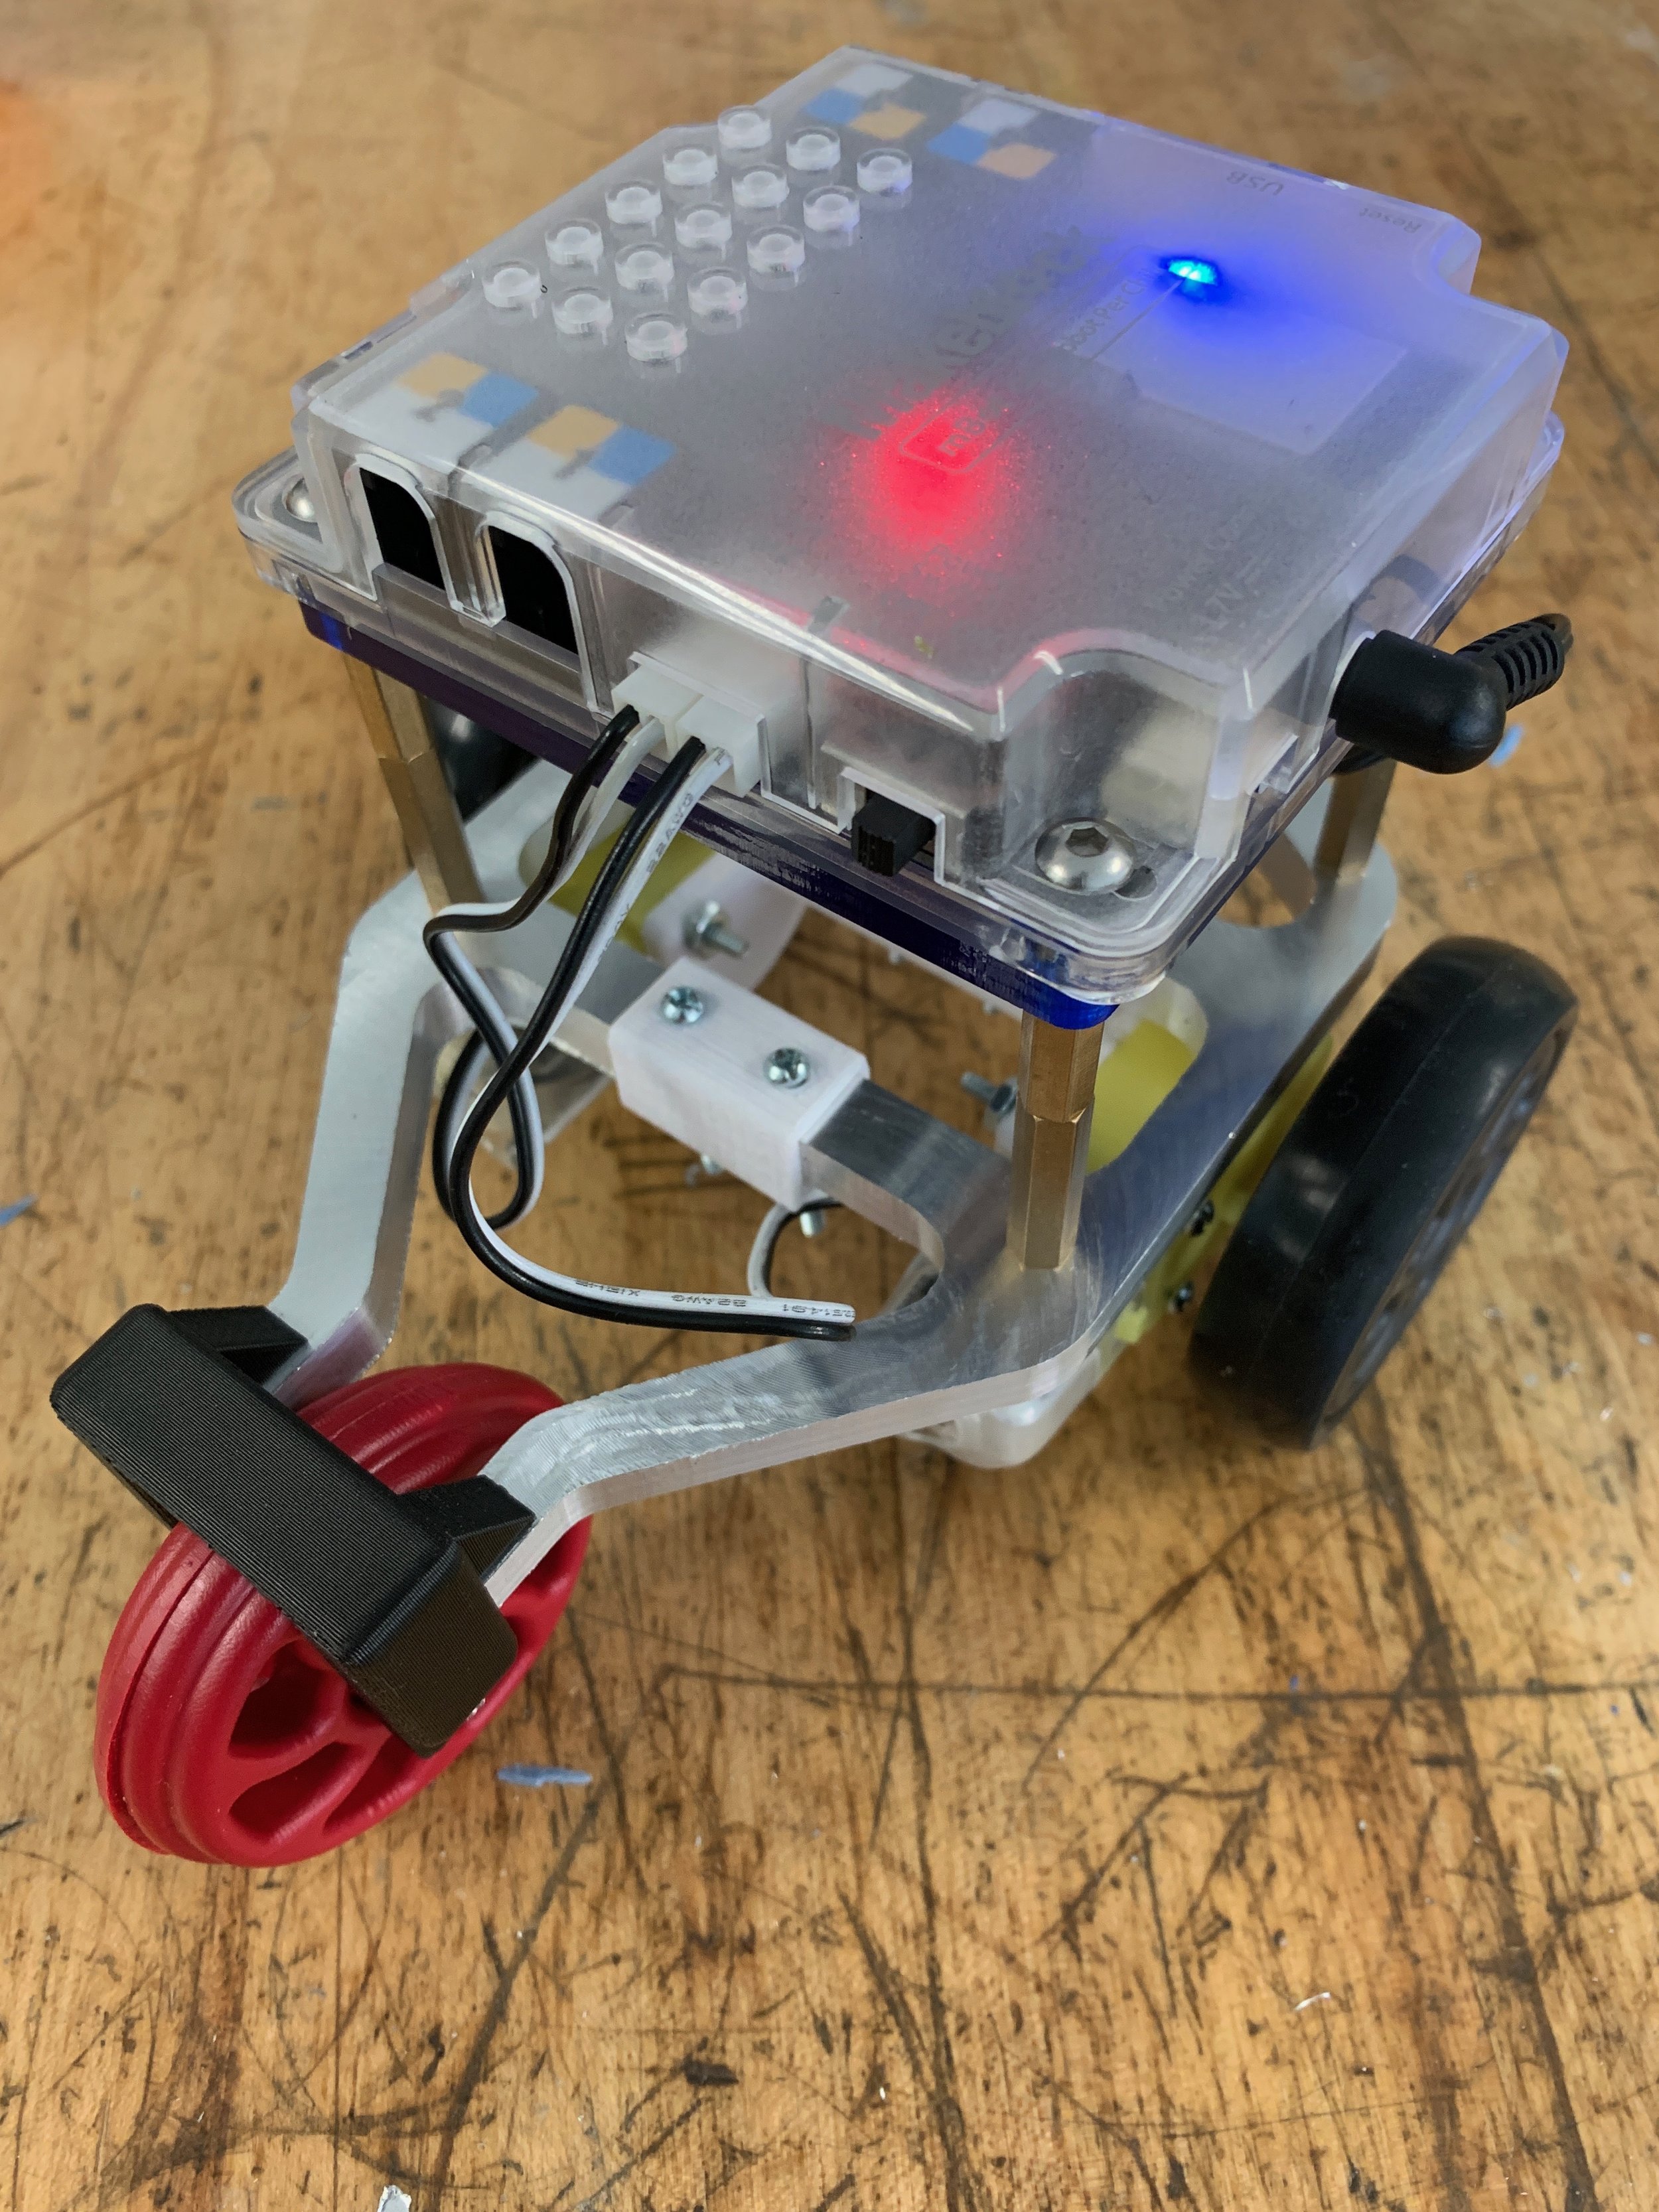
Final Buggie Rendering & Testing
Rendering
Final Buggie Design without the translucent cover
Testing
Buggie Parallel Parking and Maneuvering Up & Down Ramp

Solution
The team developed the following buggie utilizing multiple manufacturing technologies. My role in this project included assisting in the initial brainstorming of the project, developing the 3D printing dual connector piece, milling the wheel mold, final assembly and producing the exploded view of the final product.